Deploy a website on Netlify through Github Actions
Take advantage of Github Actions' custom workflow script and extra build minutes to deploy a website to Netlify using Github Actions.
This blog was originally published on RavSam blog.
Although we can connect our Github code branch directly to Netlify and deploy our website to Netlify using a build command, sometimes we want to use Github Actions for building our website and then deploy on Netlify. One of the strongest reason to do is that we get 2000 free build minutes in Github Actions as compared to 300 free build minutes on Netlify. If we are updating our website frequently, we may soon run out of these build minutes (Of course we can buy the Pro pack on Netlify).
In this article, we will:
Build our website on Github Actions
Push the build folder to the
website-buildbranchConfigure Netlify to use the
website-buildbranch to deploy our website
Creating a demo website
We will be using Jekyll to create a website for this demo. We can use any tool to built over the website because, in the end, we will just create a build directory that we will push to another branch on our Github repository.
# create a boilerplate jekyll website
jekyll new my-awesome-site

# change the directory
cd my-awesome-site

# git add all the unstaged files
git add .

# give a good commit message
git commit -m "feat: first website commit"

# push to the origin
git push origin master
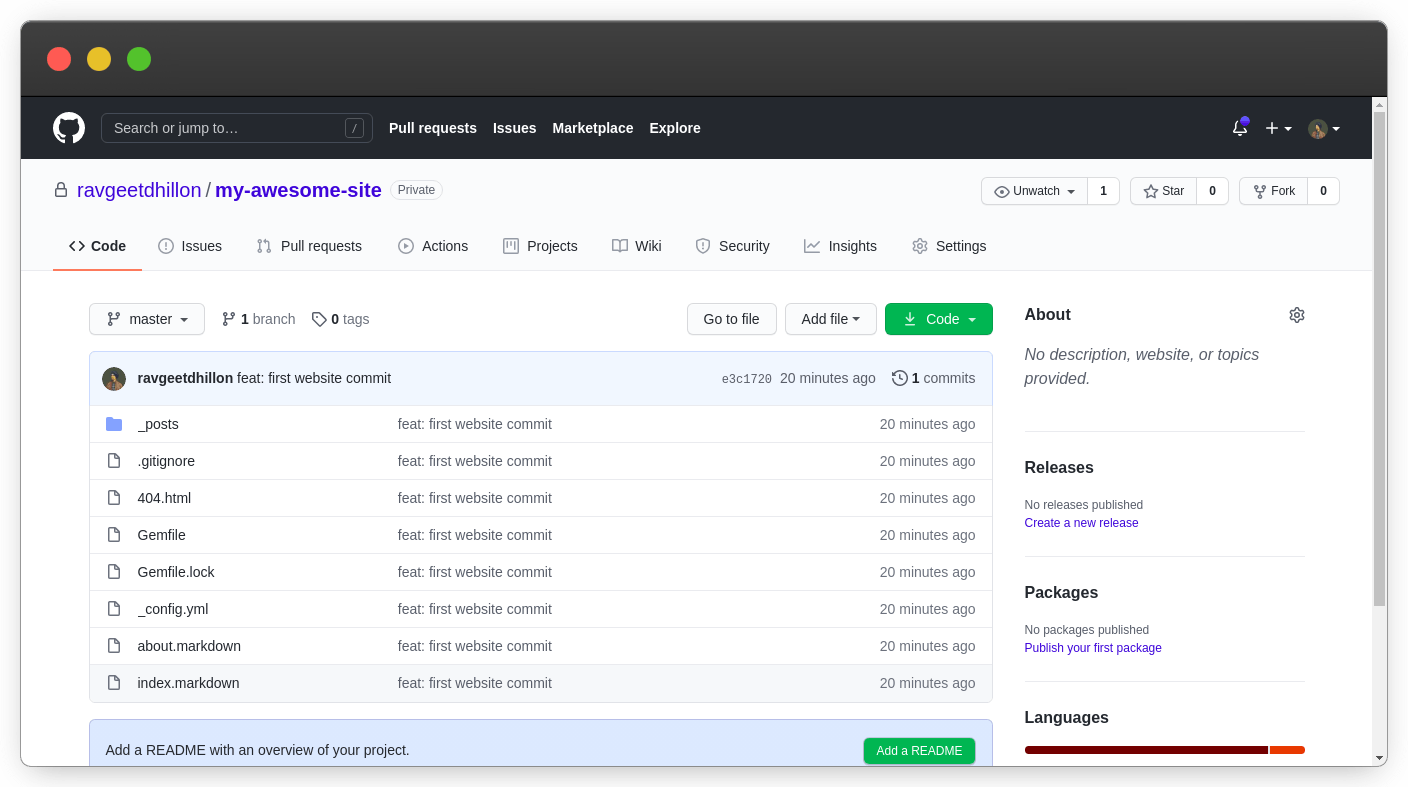 Setting up our master branch on Github
Alright. Now we have our website code in our Github Repo.
Creating a website-build branch
Since we are going to push our website build to the website-build branch, let us first create a new branch. In our terminal, we will do:
# create a new branch
git checkout --orphan website-build

# remove all files from the staging area
git rm -rf .

# create an empty commit to initialize branch
git commit --allow-empty -m "root commit"

# push branch to origin
git push origin website-build
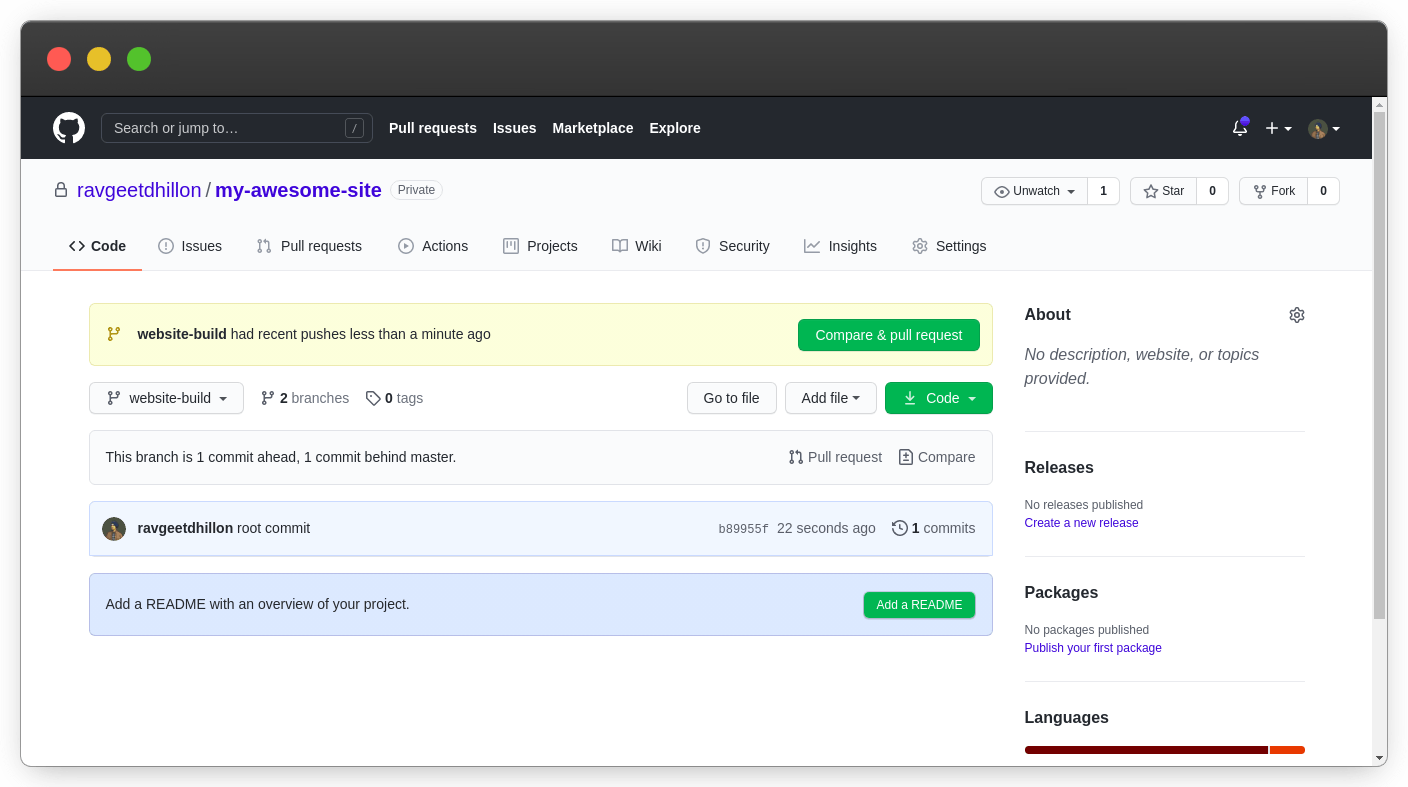 Setting up our website-build branch on Github
Building a website using Github Actions
Let us start by creating a new Github Action. In the terminal, we write
# switch back to master branch
git checkout master

# create a directory for github actions
mkdir -p .github/workflows

# create a workflow file for github actions
touch .github/workflows/netlify.yml
Let’s add the following script in our netlify.yml:
name: Build

on:
  push:
    branches:
      - master

jobs:
  build:
    runs-on: ubuntu-latest

    steps:
      - name: Checkout repository
        uses: actions/checkout@v2

      - name: Set up Ruby
        uses: actions/setup-ruby@v1
        with:
          ruby-version: 2.7

      - name: Install Dependencies
        run: |
          gem install bundler
          bundle install

      - name: Create Build
        run: bundle exec jekyll build -d public

      - name: Upload artifacts
        uses: actions/upload-artifact@v1
        with:
          name: public
          path: public

  commit-build:
    needs: build

    runs-on: ubuntu-latest

    steps:
      - name: Clone the repoitory
        uses: actions/checkout@v2
        with:
          ref: website-build

      - name: Configure Git
        run: |
          git config --global user.email ${GITHUB_ACTOR}@gmail.com
          git config --global user.name ${GITHUB_ACTOR}

      - name: Download website build
        uses: actions/download-artifact@v1
        with:
          name: public
          path: public

      - name: Commit and Push
        run: |
          if [ $(git status --porcelain=v1 2>/dev/null | wc -l) != "0" ] ; then
            git add -f public
            git commit -m "gh-actions deployed a new website build"
            git push --force https://${GITHUB_ACTOR}:$@github.com/${GITHUB_REPOSITORY}.git HEAD:website-build
          fi
The above action contains two jobs.
In the first job, build, we check out our current repository, set up Ruby since we are using Jekyll, install dependencies, build the website, and add upload the public directory as an artifact.
In the second job, commit-build, we wait for the build job to finish, then check out the website-build branch, configure Git settings, download our build artifact, and finally push public directory if changes are found.
# add the new files
git add .

# create a new commit with a descriptive message
git commit -m "feat: added netlify build workflow"

# push github actions workflow file to the origin
git push origin master
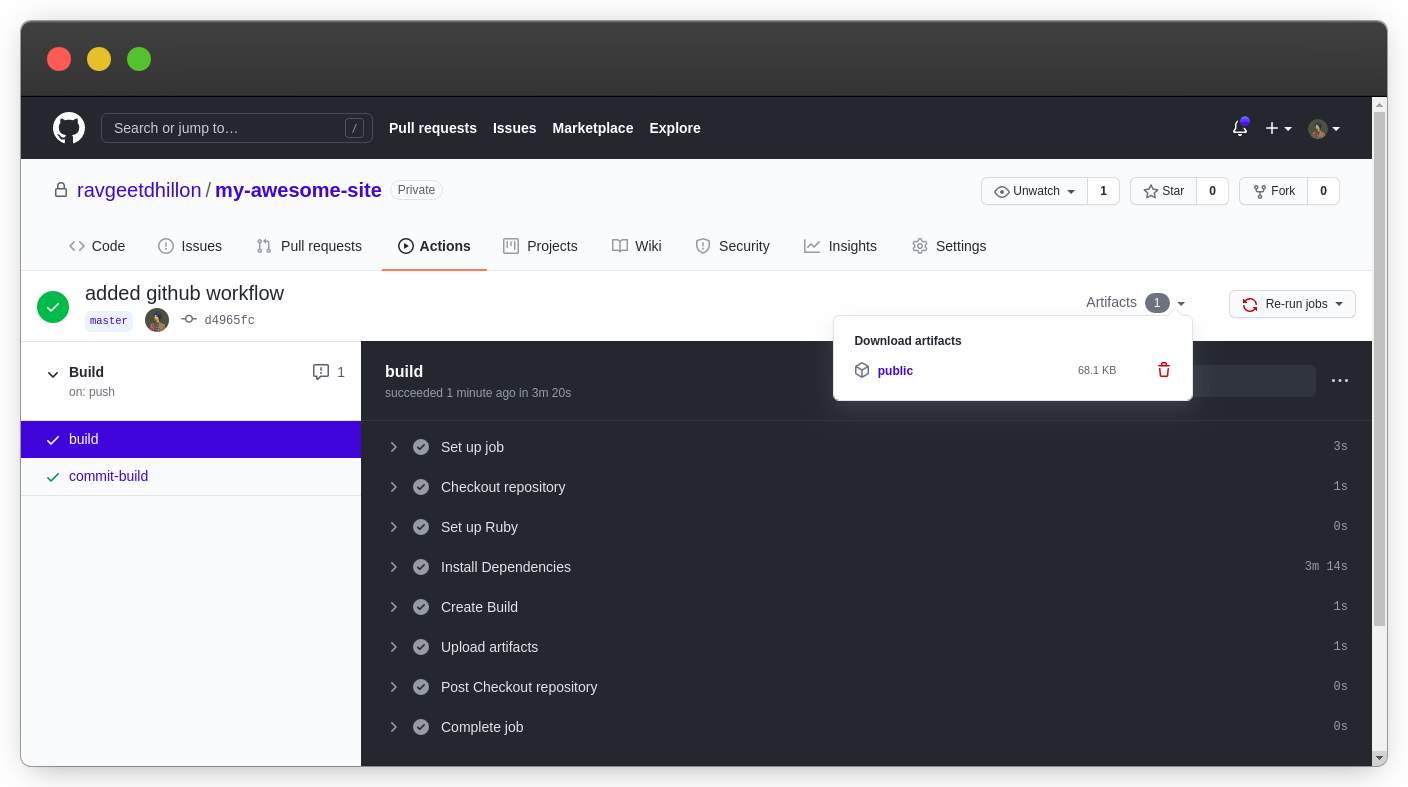 Website build created successfully
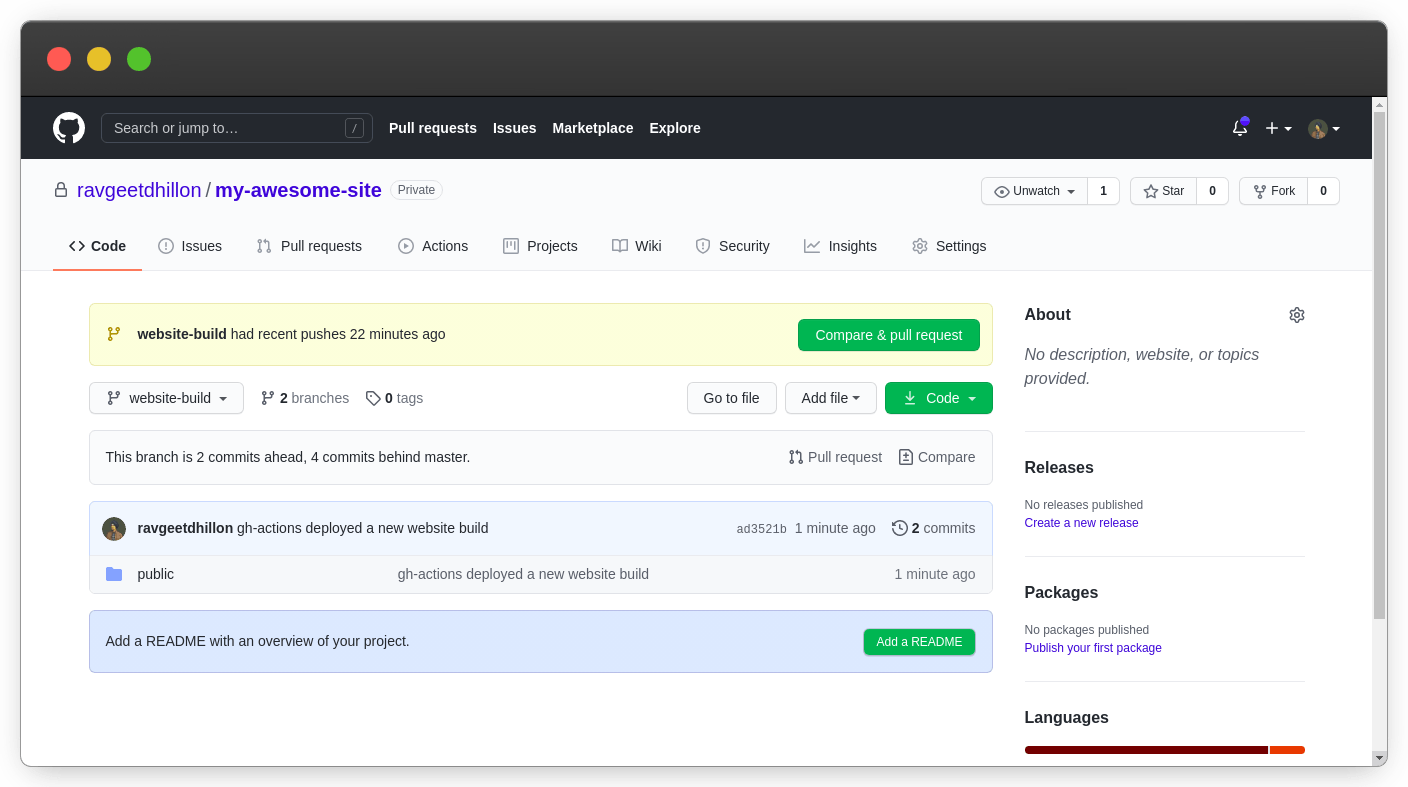 Contents of website-build branch
Configuring Netlify
The final thing we need to do is to configure Netlify. We need to change two things to make sure everything runs smoothly. First, we will change our Branch to Deploy to website-build. Second, we will update our Publish Directory to artifacts. Now, whenever a push is made to the website-build branch, Netlify will do its job.
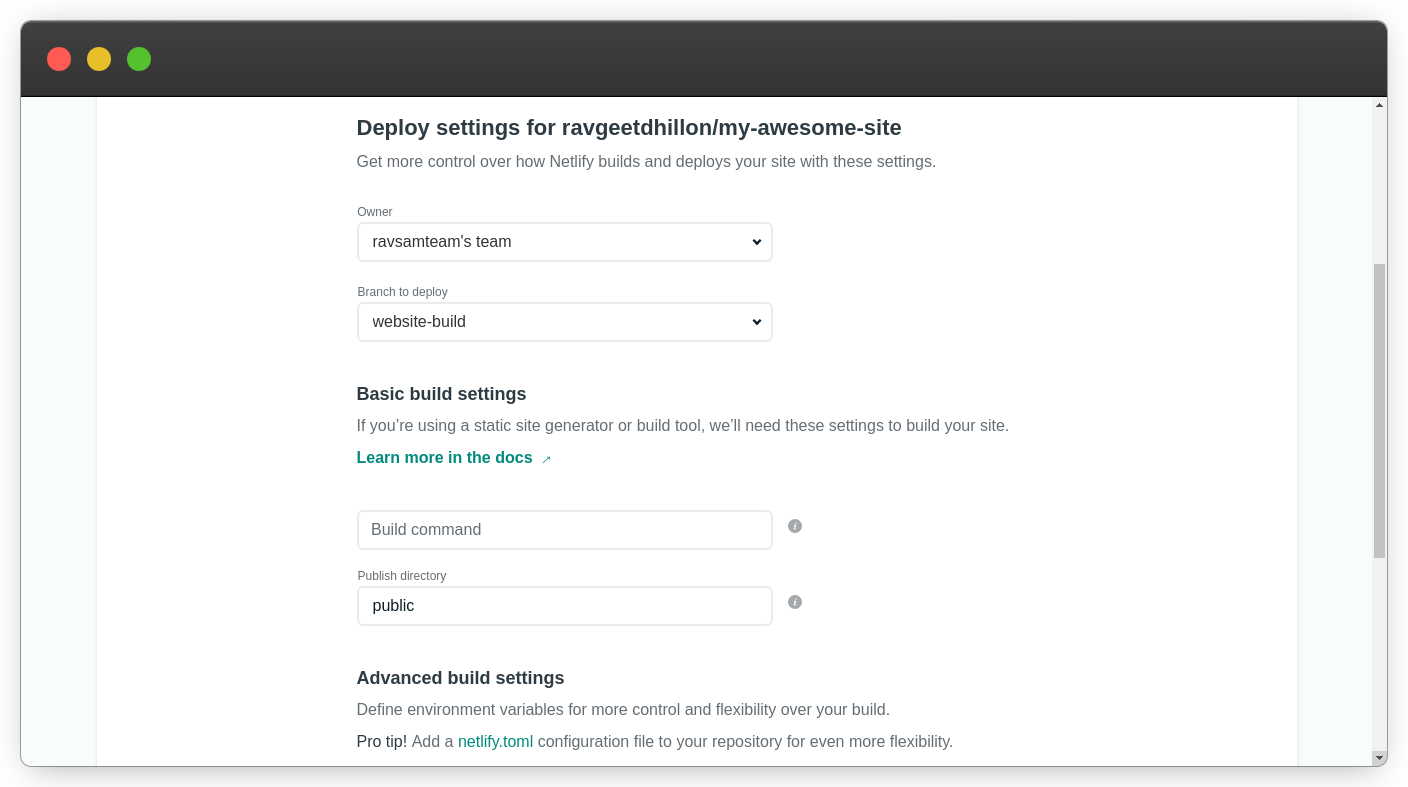 Configure Netlify settings to deploy a website
Result
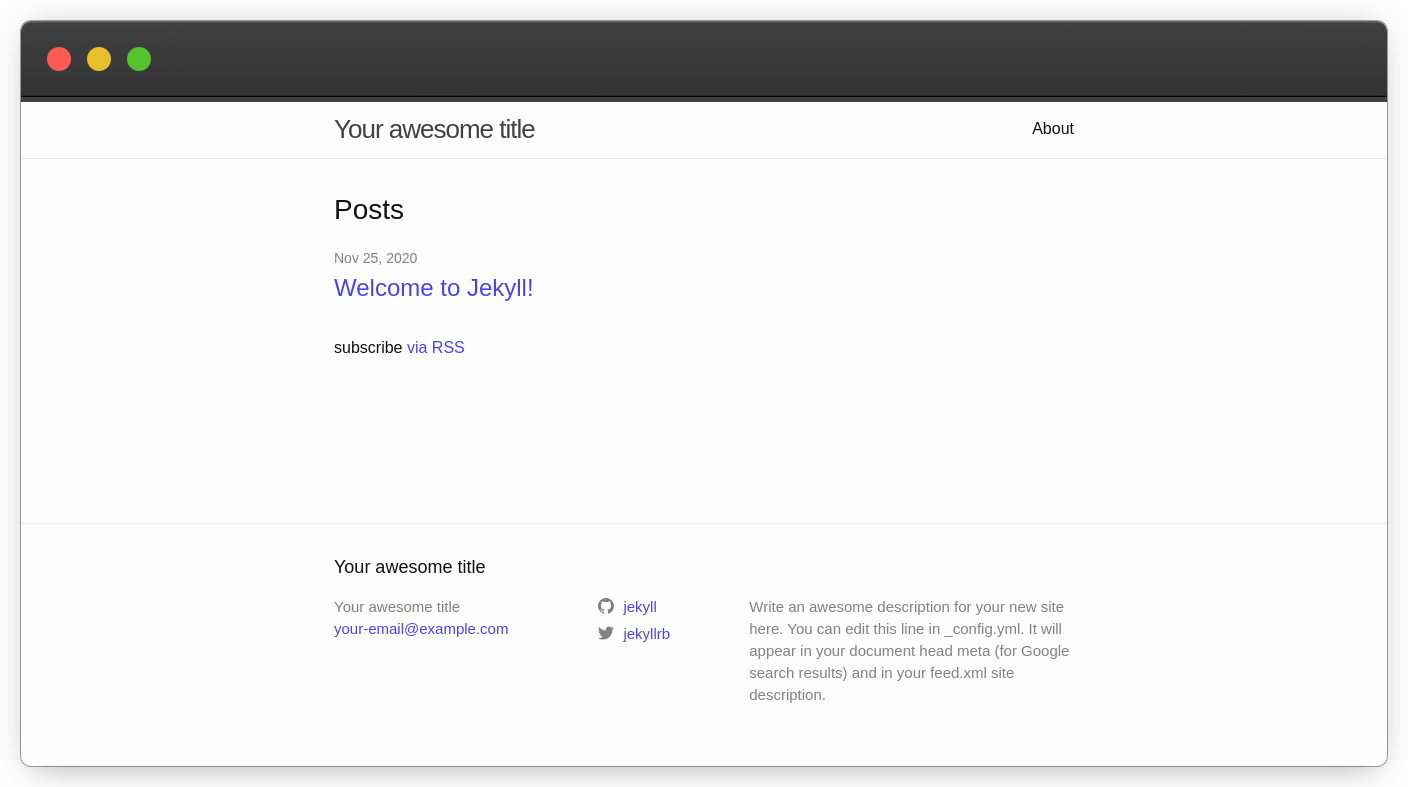 Hooray! Website deployed on Netlify
So that was easy. Using this workflow, we can also deploy our websites on Github Pages. There are a lot of developers complaining about issues with Jekyll plugins that are not supported by Github Pages. We can use Github Actions and commit our build to another branch and configure Github Pages to use that branch for deploying our website. If you have any doubts, let us know in the comments below.
Thanks for reading 💜
If you enjoyed my blog, follow me for more informative content like this.
I publish a monthly newsletter in which I share personal stories, things that I am working on, what is happening in the world of tech, and some interesting dev related posts which I across while surfing on the web.
Connect with me through Twitter • LinkedIn • Github or send me an Email.
— Ravgeet, Full Stack Developer and Technical Content Writer
