How to Setup Email Marketing using Google Apps Scripts
We can easily set up Email Marketing using Google Apps Script without setting any dedicated servers.
This blog was originally published on RavSam blog.
Recently, we have been writing a lot of stuff related to Web Design and Development, like collecting form responses, that can be implemented using Google Apps Scripts and Serverless Architecture. In this blog, we will talk about email marketing. We will set up custom email marketing purely using Google Apps Script. The advantage is we can take control of our email marketing campaign and create our own automated workflows.
Creating a new Spreadsheet
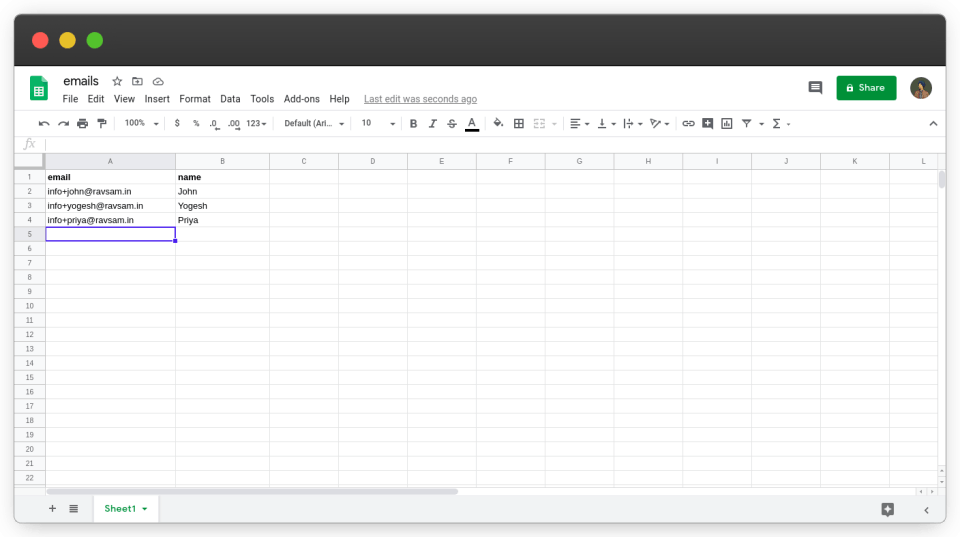
First of all, we need a Google Sheet where we store all of our email addresses to whom we want to send the emails. Let’s create a new spreadsheet.
 Enter the user details in Google Sheet
Creating a new Google Apps Project
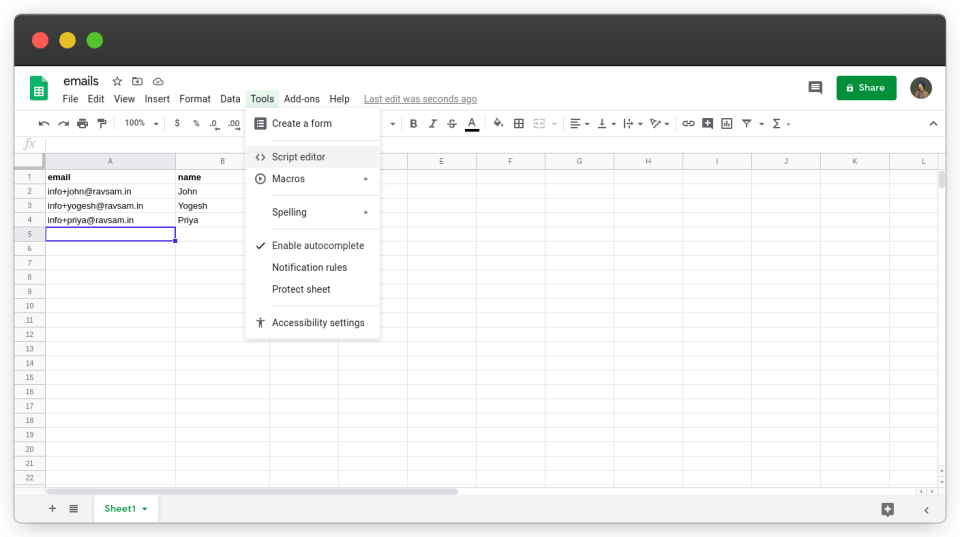
Now is the time to connect our Google sheet to a Google Apps Script. From Tools, we select the Script Editor.
 Connect Google Sheet to Google Apps Script project
Writing code
Finally, it is time to write some code.
a.) Main.gs
Add the following code to the file:
function sendEmails(mail_template='content',
                    subject='Testing my Email Marketing') {

  // get the active spreadsheet and data in it
  var id = SpreadsheetApp.getActiveSpreadsheet().getId();
  var sheet = SpreadsheetApp.openById(id).getActiveSheet();
  var data = sheet.getDataRange().getValues();

  // iterate through the data, starting at index 1
  for (var i = 1; i < data.length; i++) {
    var row = data[i];
    var email = row[0];
    var name = row[1];

    // check if we can send an email
    if (MailApp.getRemainingDailyQuota() > 0) {

      // populate the template
      var template = HtmlService.createTemplateFromFile(mail_template);
      template.name = name;
      var message = template.evaluate().getContent();

      GmailApp.sendEmail(
        email, subject, '',
        {htmlBody: message, name: 'RavSam Team'}
      );
    }
  }
}
The comments have been included in the file for a proper description of the above function.
Always use GmailApp.sendEmail instead of MailApp.sendEmail. It is a more stable and reliant function.
b.) content.html
Since the above script uses an HTML file and populates it, we need to create an HTML template file. Add the following code to the file:
<!DOCTYPE html>
<html>
  <head>
    <base target="_top">
  </head>
  <body>
    Hi <?= name ?>. We are testing our beta features for email marketing.
  </body>
</html>
The <?= name ?> template variable gets auto-filled by the email marketing script.
Running the script
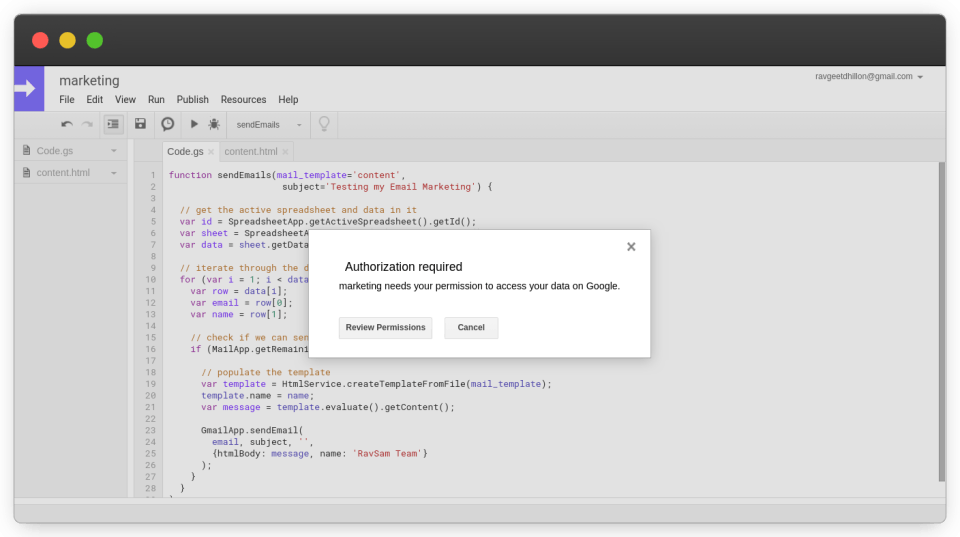
We have done all the necessary setup to start a successful email marketing campaign. Before we run our code, we need to grant
 Authorize the Google Apps Script to send an email on your behalf
Results
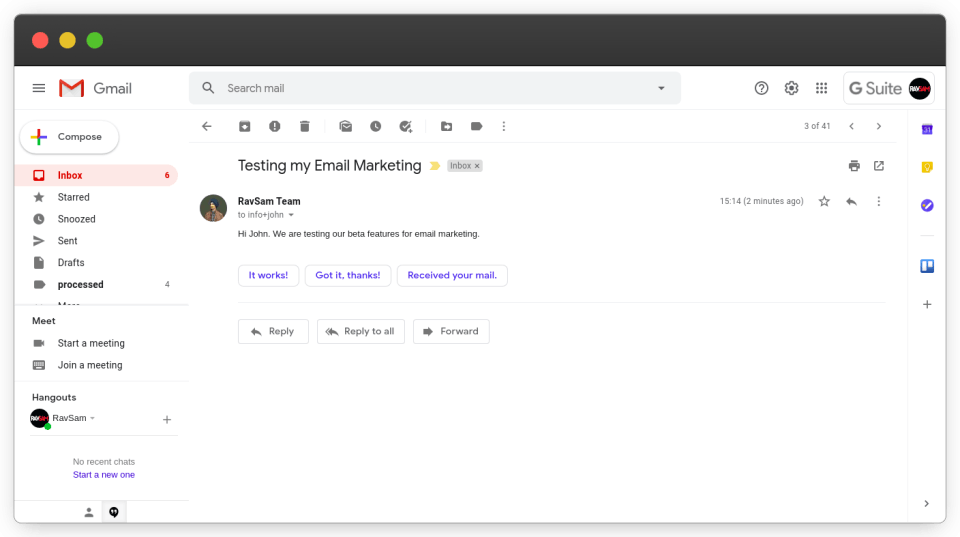
Let us check our email to see if the email was received. Awesome! We can clearly see that the email was delivered successfully to the user’s inbox.
 Email Delivered successfully to the inbox
We can create more beautiful and custom HTML templates and manage our email marketing campaigns around them. In our next blog, we will be talking about how to track whether a user opens our emails or not
Thanks for reading 💜
If you enjoyed my blog, follow me for more informative content like this.
I publish a monthly newsletter in which I share personal stories, things that I am working on, what is happening in the world of tech, and some interesting dev related posts which I across while surfing on the web.
Connect with me through Twitter • LinkedIn • Github or send me an Email.
— Ravgeet, Full Stack Developer and Technical Content Writer
