
How To Track Email Opens with Google Apps Script
We can track email opens using Google Apps Script to measure the success of our Email Marketing campaign.


This blog was originally published on RavSam blog.
In our last blog, we talked about how to set up Email Marketing using Google Apps Script. We promised you that in our next blog we will talk about how can we track whether our emails are opened by the recipients or not. This can be implemented using Google Apps Script and a tracking pixel. Tracking the email opening is important to measure the success of our email marketing campaign but we have to make sure that we maintain the privacy of the recipients in every way possible.
Prerequisites
Before getting started, follow all the steps we discussed in setup Email Marketing using Google Apps Script.
1. Adding Status Column
Once you have set up the Google Sheet, add a status column in the Sheet. This column will be used to track the email openings.
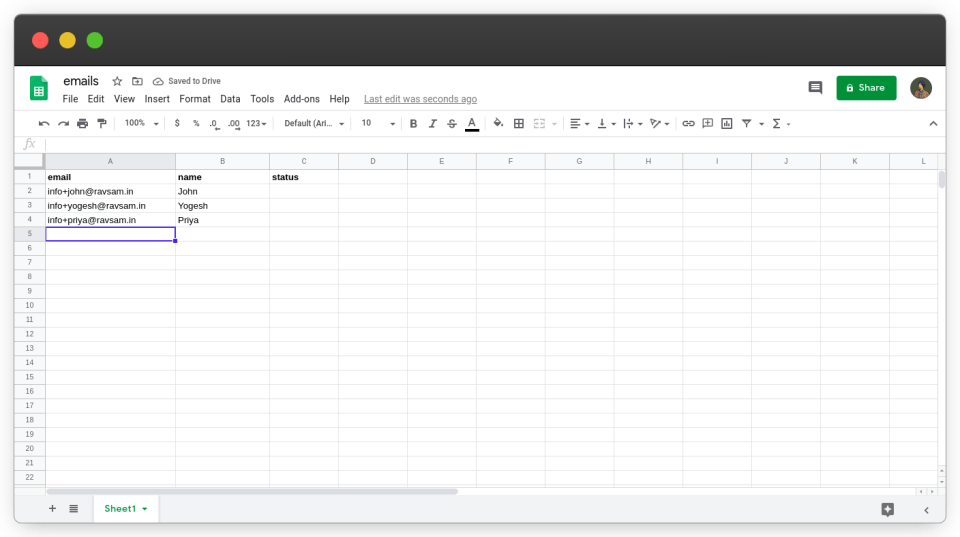 Enter the user details in Google Sheet
2. Writing Email Tracking code
Now is the time to add some code to the script we wrote in the previous blog.
The workflow is really simple. We will add a <img> tag in our HTML file with width="0" and height="0". We will add our script URL along with some query parameters in the src attribute. This kind of image is known as a tracking pixel. When the recipient will open the email, a GET request will be sent to the URL specified in the src attribute. We will handle this GET request in our Google Apps Script and update the Google Sheet based on the query parameters.
In the Main.gs, add template.email = email; after template.name = name; in the sendEmails function:
function sendEmails(mail_template='content',
                    subject='Testing my Email Marketing') {

  // get the active spreadsheet and data in it
  var id = SpreadsheetApp.getActiveSpreadsheet().getId();
  var sheet = SpreadsheetApp.openById(id).getActiveSheet();
  var data = sheet.getDataRange().getValues();

  // iterate through the data, starting at index 1
  for (var i = 1; i < data.length; i++) {
    var row = data[i];
    var email = row[0];
    var name = row[1];

    // check if we can send an email
    if (MailApp.getRemainingDailyQuota() > 0) {

      // populate the template
      var template = HtmlService.createTemplateFromFile(mail_template);
      template.name = name;
      template.email = email; // add this line
      var message = template.evaluate().getContent();

      GmailApp.sendEmail(
        email, subject, '',
        {htmlBody: message, name: 'RavSam Team'}
      );
    }
  }
}
Let’s add code for tracking the email opening.
// handles the get request to the server
function doGet(e) {
  var method = e.parameter['method'];
  switch (method) {
    case 'track':
      var email = e.parameter['email'];
      updateEmailStatus(email);
    default:
      break;
  }
}
The above code will handle the GET request. If the value of the query parameter method is track, then we will get the value of the query parameter email, and pass it to the updateEmailStatus function. Let’s write the code for the updateEmailStatus function.
function updateEmailStatus(emailToTrack) {

  // get the active spreadsheet and data in it
  var id = SpreadsheetApp.getActiveSpreadsheet().getId();
  var sheet = SpreadsheetApp.openById(id).getActiveSheet();
  var data = sheet.getDataRange().getValues();

  // get headers
  var headers = data[0];
  var emailOpened = headers.indexOf('status') + 1;

  // declare the variable for the correct row number
  var currentRow = 2;

  // iterate through the data, starting at index 1
  for (var i = 1; i < data.length; i++) {
    var row = data[i];
    var email = row[0];

    if (emailToTrack === email) {
      // update the value in sheet
      sheet.getRange(currentRow, emailOpened).setValue('opened');
      break;
    }
    currentRow++;
  }
}
The comments in the code explain it well. We just loop over the data in the Google Sheet and compare the emails with the emailToTrack variable. Once we have found the match, the status column to the corresponding email is set to opened.
3. Deploying as Web App
To handle the GET request, we need to deploy our script as a Web app. To deploy as a Web app, we go to Publish > Deploy as web app…. We will set Who has access to the app: to Anyone, even anonymous, and click Update.
4. Adding Tracking Pixel in Email
In the content.html, we will add our tracking pixel.
<!DOCTYPE html>
<html>
  <head>
    <base target="_top">
  </head>
  <body>
    <!-- add this img tag -->
    <img src="https://script.google.com/macros/s/AKfycbxyhzk8JpzP1S-vXp6UVAOtQzN9qKqHLaKxiHr2cZ6mLsZ7EJcG/exec?method=track&email=<?= email ?>" width="0" height="0">

    Hi <?= name ?>. We are testing our beta features for email marketing.
  </body>
</html>
The <?= name ?> and <?= email ?> are called template variables and they will be populated by the sendEmails function.
4. Running the script
Alright, we have done all the necessary setup to start a successful email marketing campaign that can be tracked as well. We will execute the sendEmails function and check our inbox on behalf of users.
Results
Now is the time to check whether we were successful in implementing tracking email openings or not. We will open the email and check whether the Google Sheet was updated or not.
Woah! We can see that the Google Sheet was automatically updated when the recipient opened the email. This is the power of Google Apps Script. It is not widely used but there are many things that can be implemented with them. If you any doubts or appreciation for our team, let us know in the comments below.
Thanks for reading 💜
If you enjoyed my blog, follow me for more informative content like this.
I publish a monthly newsletter in which I share personal stories, things that I am working on, what is happening in the world of tech, and some interesting dev related posts which I across while surfing on the web.
Connect with me through Twitter • LinkedIn • Github or send me an Email.
— Ravgeet, Full Stack Developer and Technical Content Writer